
You can find a lot of information on any ham radio subject. People will tell you that you need to do this setup or that setup. Who should you listen to? Who is right and who is wrong?
I was on the air for seven years with some interesting mobile radio setups. I finally did a full mobile installation in what most would consider the “right way.” But what is this “right way?” Does it really matter? Some say that what’s most important is to choose whatever way gets you on the air. With some safety thoughts in mind, that is exactly what I am proposing in the aftermath of my new installation.
Maybe you are new to the hobby or maybe just new to mobile. Let’s discuss some quick and easy methods to get you on the air.
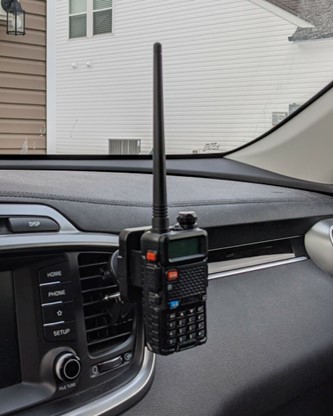
Almost everyone starts off with a handheld of some type. It is easy, mostly affordable, and portable—so portable, in fact, that it is easy to bring in the car with you. You can use anything from a simple cell phone mount to a mount used specifically for ham radio. This is the easiest setup. However, have you ever tried to actually use an HT inside a car with the stock rubber duck antenna? You won’t get the best results. Your next step is to add an external antenna.
You can add a magnetic mount antenna to the roof and run the cable through the window or door. That’s the simple and quick way. Eventually, you might want a more permanent install with hidden wires running through the car. Whichever way you go, adding an external antenna will make a world of difference for making contacts with your radio. Even with a low power limit, you’ll be able to hit repeaters in the area much better.
My very first setup was a Yaesu FT2DR that an acquaintance had sold to me at a discount because I was a brand-new ham. I added a battery eliminator and outside antenna right away. This served me well for a while. I eventually decided to try adding some power by including a Mirage dual band amplifier in the setup. It worked quite well! I probably could have worked with that setup for quite some time, but removing the HT for other uses when needed and hooking it back up in the car afterward became quite bothersome. A more permanent setup was desired.
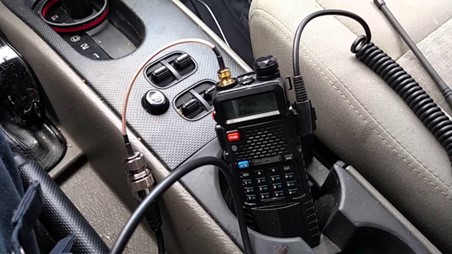
Next up was mini mobile radios. These are relatively inexpensive, have a small footprint, and are rated at 20-25 watts. More importantly to me was that even though they boast more TX power, these little guys run off the cigarette lighter port. This is something you would NOT want to do with a full power mobile radio. I liked this advantage because I didn’t want to drill through the dash and hook it up directly to the battery.

When I decided this setup worked for me, I obtained some good mounting options because I wanted to use my cup holders again. One option is the Lido Wedge Mount that goes between the console and the seat. It is great for a small car without a lot of room to mount items.
I very happily used this setup for years. I did end up using a lip mount on the hatchback and running the antenna cable under the carpets to the front of the car. However, still no drilling or permanent modifications to the car.
All these ideas are simple and easy ways to get started being on the air while mobile. No car modifications needed, and you will make your contacts.
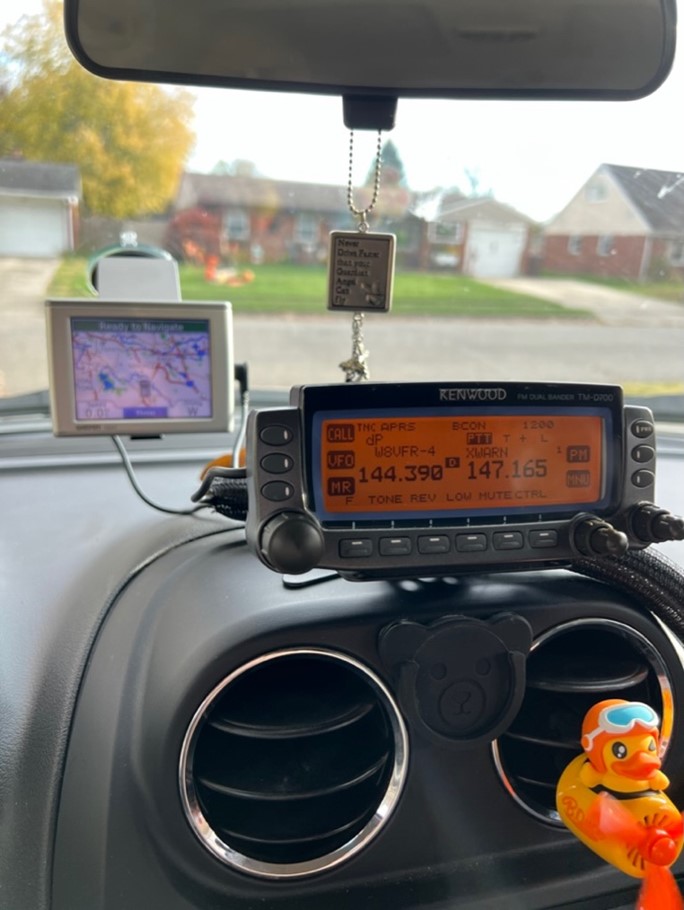
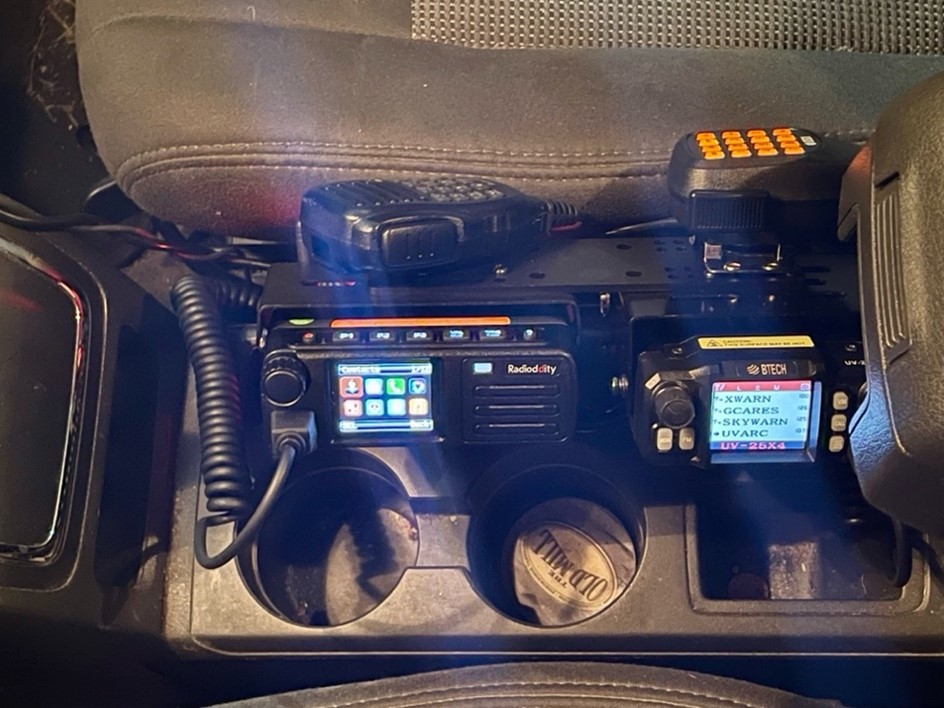
However, I did finally upgrade. I had a very old Garmin laying around and learned that with a special cable, I could use the GPS for APRS in a Kenwood D700 and display the APRS locations on the map of the Garmin in return. I could use those locations as map points for the GPS to guide me as well. This could be extremely handy for my large public service events. I did have to finally run power to the battery of the car.
I resisted needlessly for quite a few years but now have a fabulous setup. Now I have to remember to turn the radio on and off manually, however. Next up is a relay switch to do that for me automatically.
Happy mobile radioing!
Questions? Share them in the comments below or email me at KE8FMJ@gmail.com