
So simple, it just works…and it’s a fun way to teach basic soldering, antenna-building, and antenna theory to new hams.
I used to love going to visit my great-grandmother. She was a spunky four-foot, four-inch-tall Scottish woman who lived on her farm until the day she died at the age of 112. She always told me, “Now don’t go reinventing the wheel.” She credited her longevity to having lived a simple life.
As amateur radio operators, we love to “improve” things. We sometimes take simple items and concepts and convolute them to the point we even get lost ourselves. Today, I’m pleased to write about a product that doesn’t reinvent the wheel, but rather reintroduces it—the DX Engineering Dipole Winder Kit (DXE-DWK).
The kit includes a winder unit, a BNC feedline connector, and two ruler end insulators. The customer provides feedline, antenna wire, and antenna rope. All components require assembly by the end user. This kit is a great gateway into antenna-making and a chance to learn basic antenna theory as well as soldering skills. The BNC connectors are available separately in a two pack (DXE-HP0138).
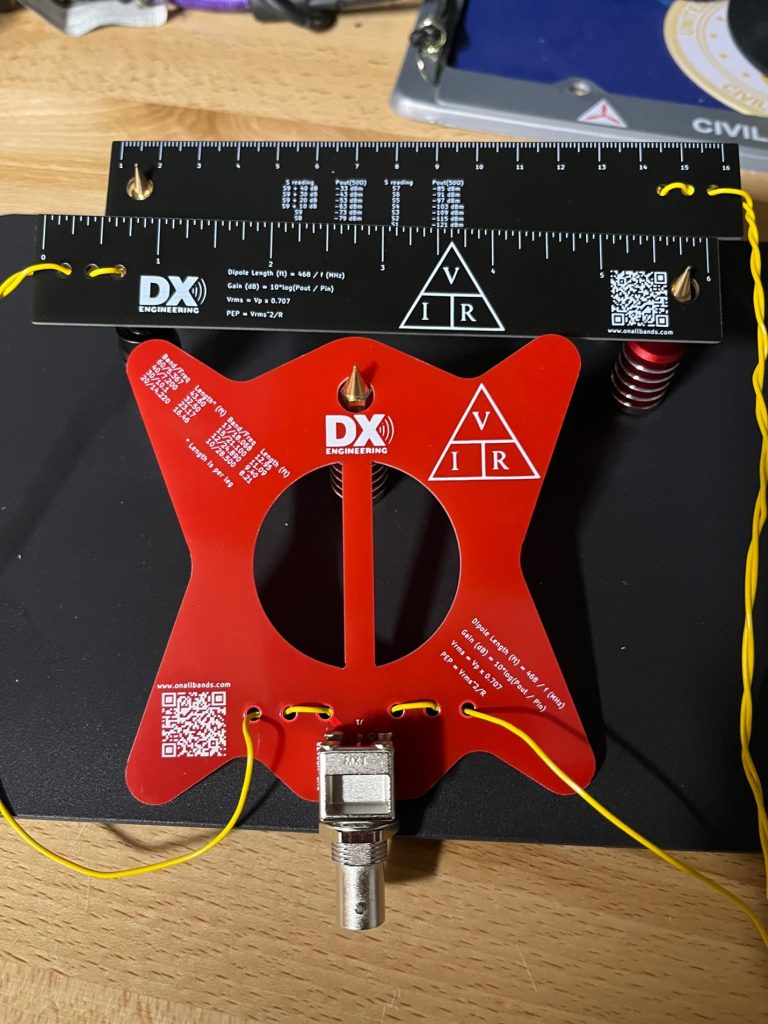
The platform for the antenna is the winder. It serves as a hanger, feed point attachment, antenna wire winder, and reference source. The winder comes pre-punched with solder points for the BNC feedline connector, strain relief for the antenna elements, and a hole to hang it with.
I started by putting the BNC connector in the correct holes on the winder unit and securing it in place with alligator-clip “helping hands.” I was then able to solder the anchor points and conductor pins, which made the rest of the build much easier. At this point I cut my antenna wire. I used the chart printed on the winder and found the correct length each leg needed to be for 20M—16.46 feet long. I cut the legs to 18 feet to allow for adjustments.
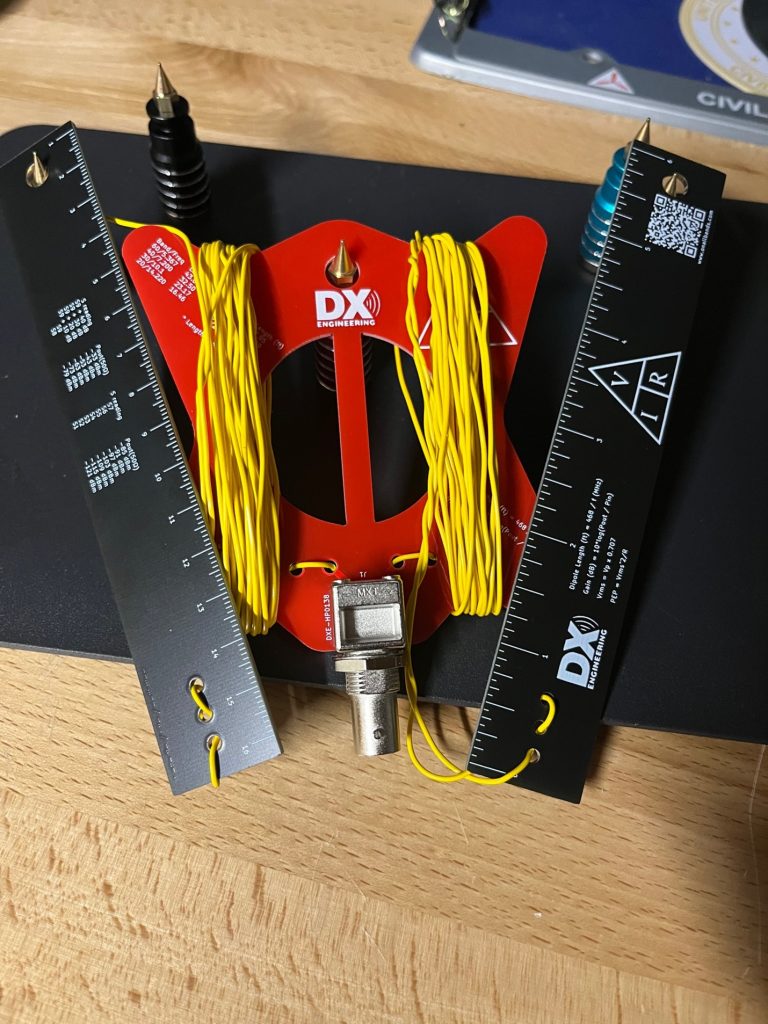
Next, I pre-tinned the end of my antenna wire and fed it through the strain relief holes so the ends came out right at the solder pads on the winder. I soldered them in place, completing the soldering part of the assembly. When soldering on projects like this, remember that flux is your friend. It allows the solder to flow nicely and cleans up with a little rubbing alcohol on a cotton swab.
The final build step was to attach the ruler/end insulators and wind the wire on the winder. Total build time, including gathering supplies and cleanup, was about 20-25 minutes.
Now for the fun part—getting on the air!
I hung the winder unit at about 20 feet. The ends—hung with Mastrant rope—were at approximately 10 feet. I used my Comet CAA-500 antenna analyzer to zero in on the wire length. After a couple of length adjustments, I was able to attain a 1.173:1 or less SWR across the entire band. I then felt comfortable connecting my Yaesu FT-818 to the antenna.
I set up on 14.270 MHz and called CQ. It took a couple of minutes, but someone answered. I received a 5-9 signal report from a station that turned out to be only 27 miles away. I thanked him and called CQ for a few more minutes. Another station 526 miles away answered, giving me a 5-7 signal report. At that point I called it a success and shut down the operation.
When you look at this antenna, it is so simple. No coils, no baluns, no tuner—just wire. It is so simple it can’t help but work. To me, this is what amateur radio is all about. Take a few basic items and craft them together to make a useful tool.
These affordable kits would make a fun NVIS Day club project for everyone to build and take home, a class STEM project, or a Saturday skill-building project for new and experienced amateur operators.
To check on the availability of the DX Engineering Dipole Winder Kit, enter “DXE-DWK” at DXEngineering.com.