
Troy, AC80W, chronicled his installation of the DX Commander Signature 18 Nebula eXtreme HF Multiband Vertical Antenna. Find part 1 of this series here: “Making the Selection and Prepping for Installation”
So, the date had been set, the supplies assembled and, most importantly, the installation team recruited. It was now time to get the DX Commander Signature 18 Nebula in the air. If all went according to plan, I would be on the air by the end of the day.
I had done my best to have everything laid out in the order it would be needed. I had the element wires cut exactly to the prescribed length in the owner’s manual. I even had the radials cut and the fork terminals installed. The whole idea was to have as much of the preparatory work done as possible before the team arrived.
The one preparatory item I would change is concerning the manual. I emailed the Nebula instruction manual to everyone a few weeks before the install. I try to work paperless as much as possible. The manual is very well laid out, but due to the way it is arranged, having a paper copy with highlights and notations for this particular antenna would have been much easier than trying to operate using phones.
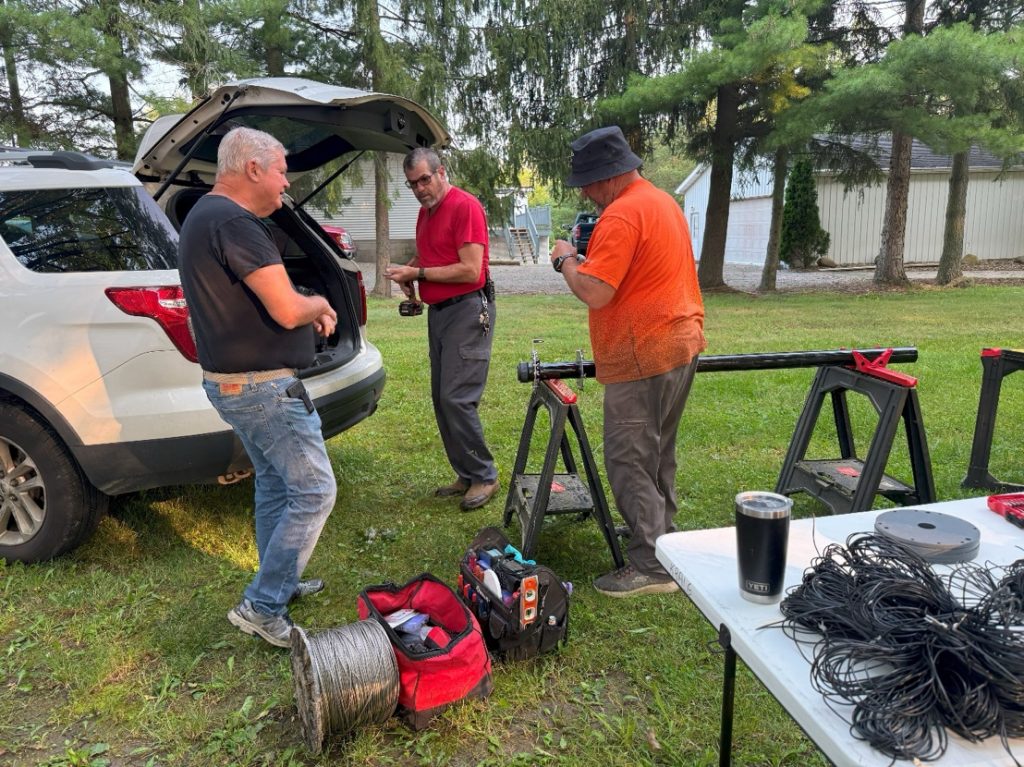
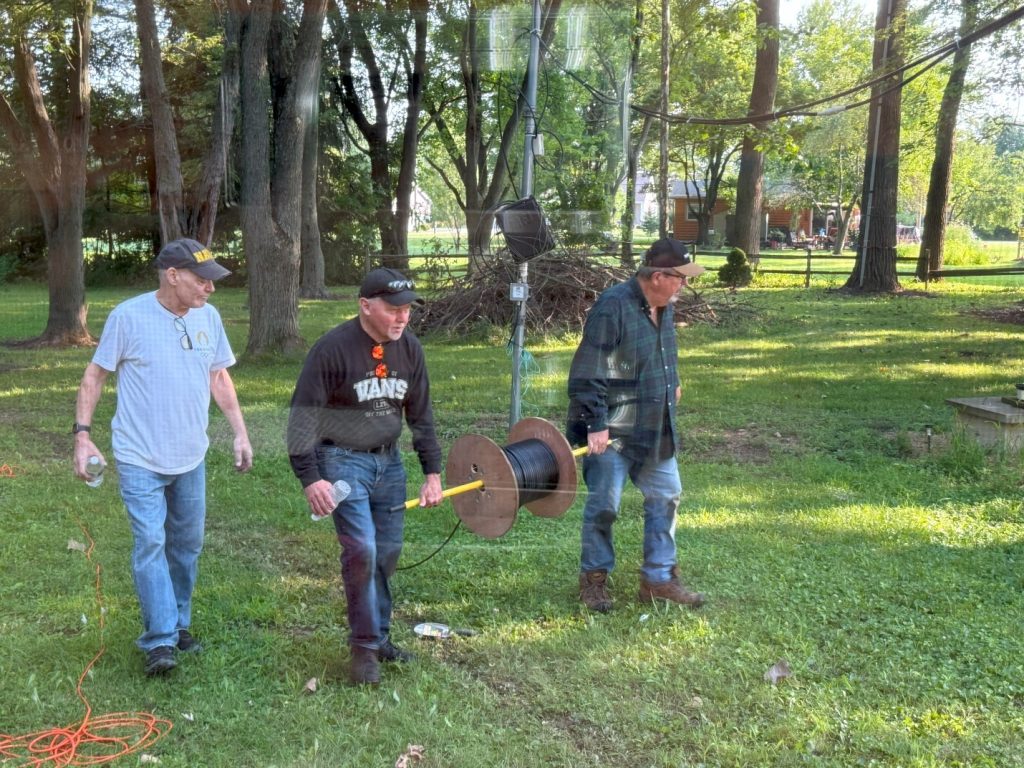
Immediately after breakfast, the team launched the attack. One team started working on burying the coax. We ran DX Engineering 400MAX Low-Loss 50-Ohm Coaxial Cable from the antenna to a DX Engineering Utility Enclosure mounted on the side of the house next to the weatherhead. DX Engineering RG-213/U 50-Ohm Coaxial Cable was used to go from the enclosure through the weatherhead into the shack.
DX Engineering PL-259 Connectors were attached using the DX Engineering Cable Prep Tool Kit and the DX Engineering Ultra-Grip 2 Crimp Connector Tool Kit. This crew probably produced the most sweat but, in the end, you could not even tell they cut a trench through the yard.
I should note a few things about our coax bury project. I had all buried wires and pipes marked for the safety of the crew and our house. They used a gas-powered edger to cut a shallow trench which made it easier, but they still had quite a time getting the coax in the trench. The composition of our soil was too rocky for an electric edger, so they had to resort to a commercial gas unit.
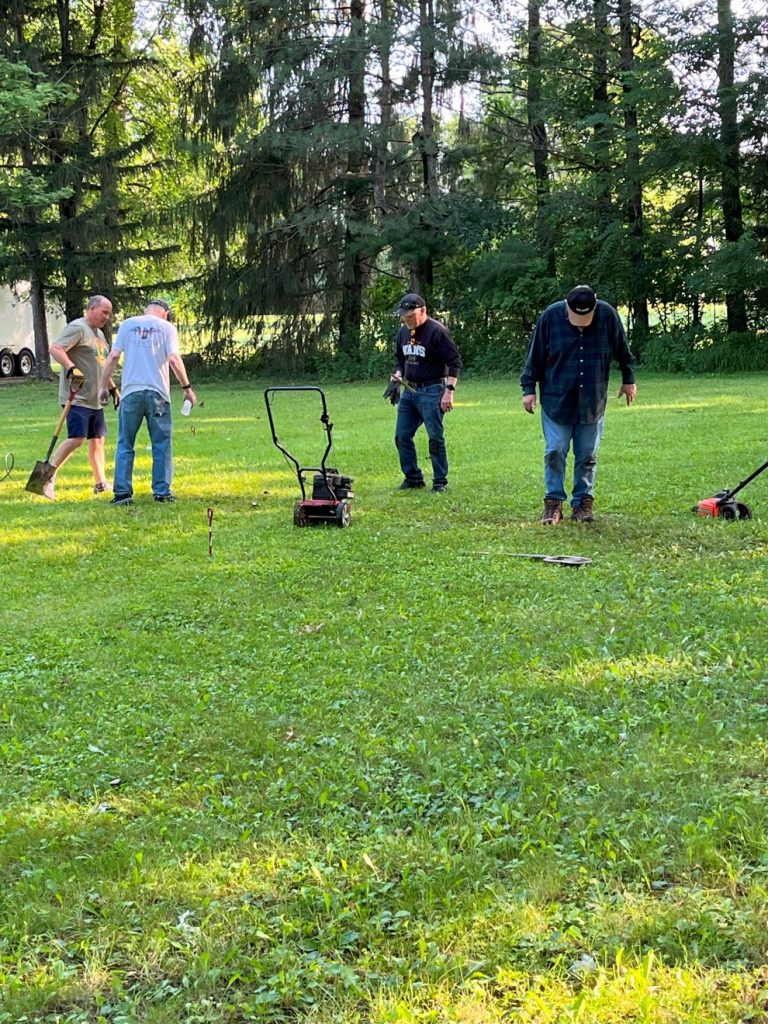
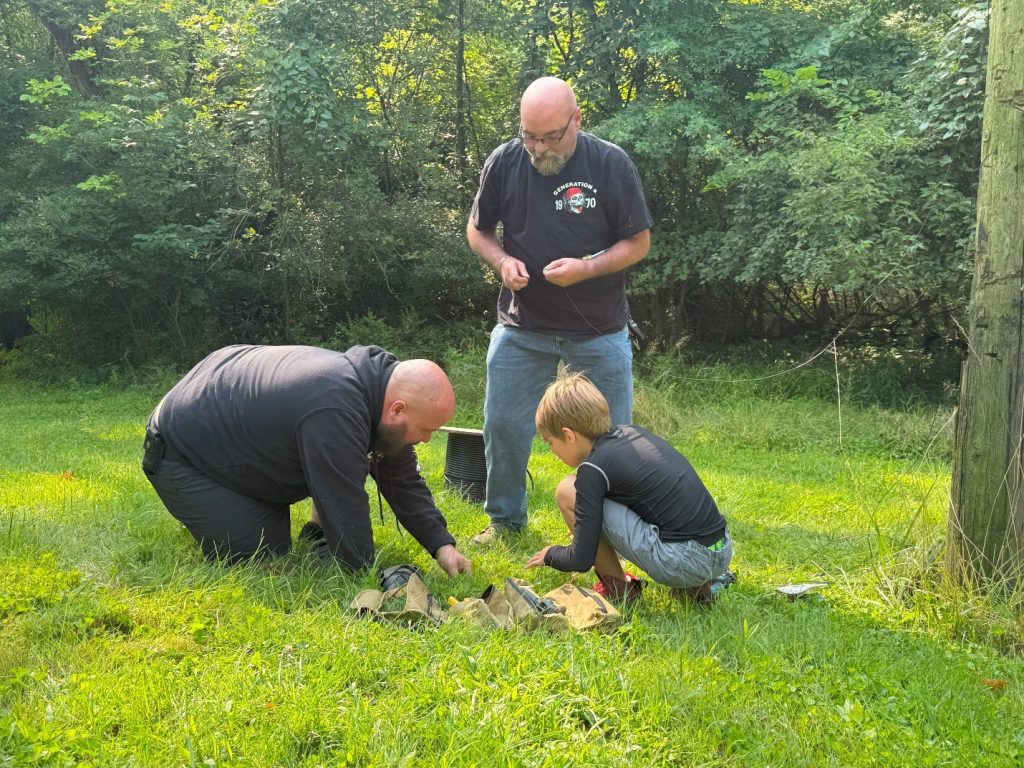
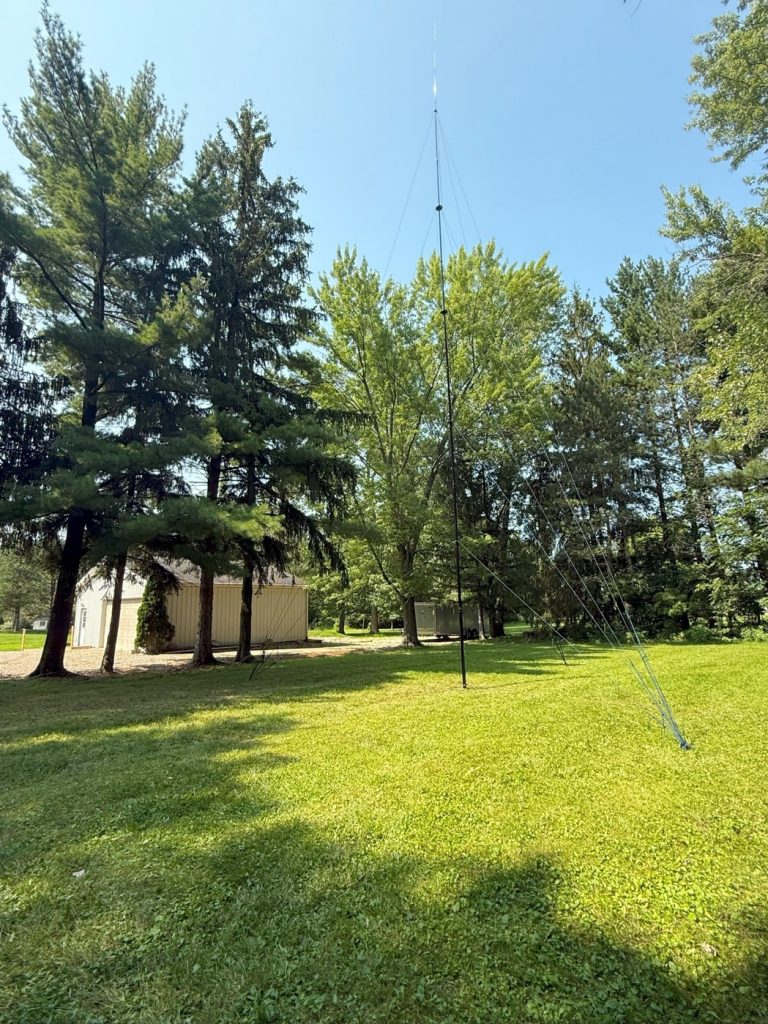
Another crew started getting the guy anchors in the ground. I chose DX Engineering 15-Inch Rope Guying Earth Anchors. These are extremely heavy duty and should last a lifetime. The position for each anchor was spotted according to the manual, and each one was screwed into the ground by hand. This crew then set and stapled the radials after the anchors were put in place.
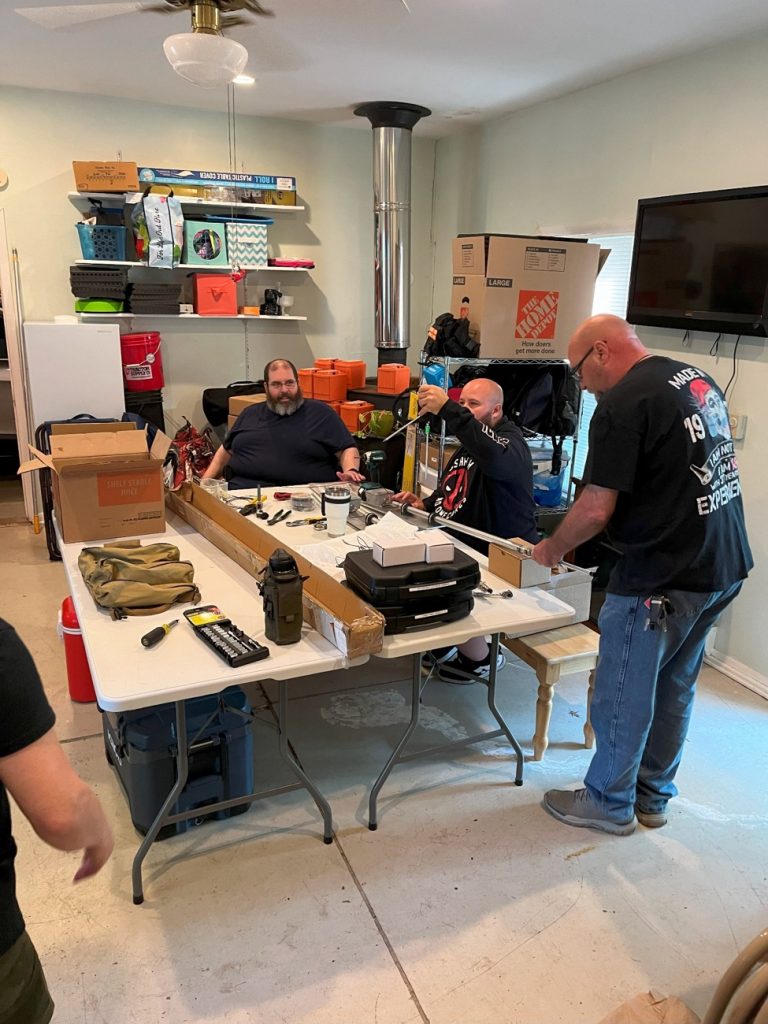
The third crew assembled and erected the antenna. A series of three sawhorses were set up to support the mast while it was being assembled. They extended the mast and pulled each joint until it was tight. Each joint was taped with a DX Engineering Coaxial Connection Weatherproofing Kit and the clamps were installed according to the manual.
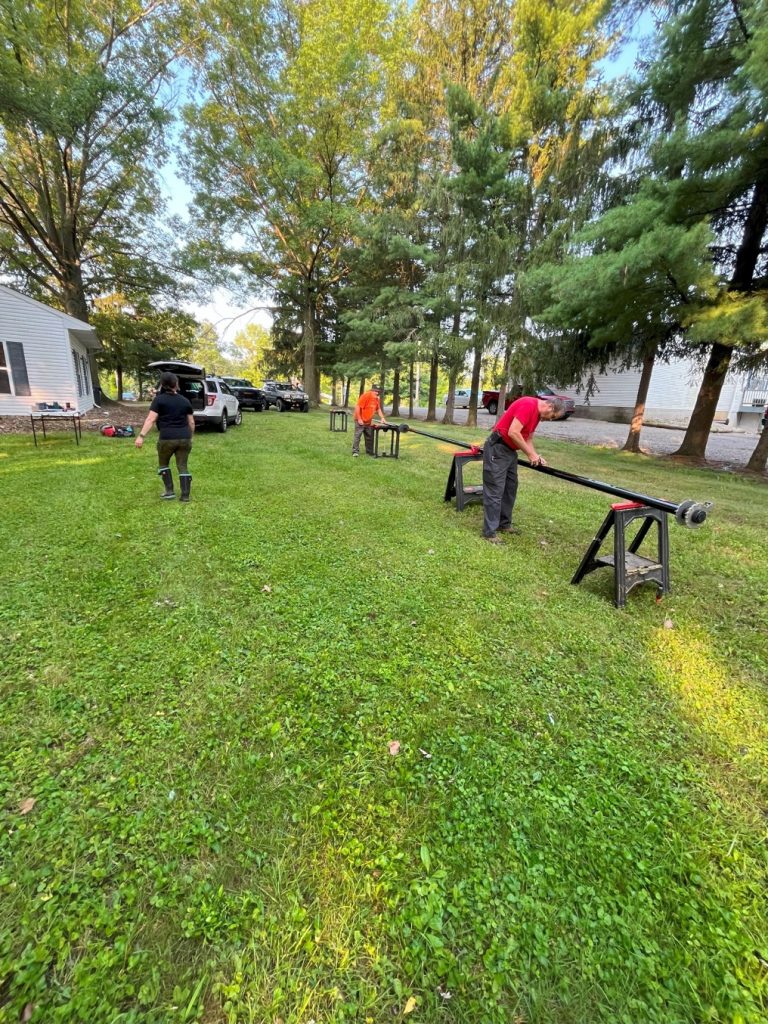
It was then time to install the rings and elements. The ground ring and driven ring were put into place first and secured. The remaining four spacer rings were then put in place. The preassembled radiating elements were attached to the driven ring. Please note, it does matter what order they are arranged to avoid harmonics. The radiating elements were secured and tensioned with the shock cord per the manual.
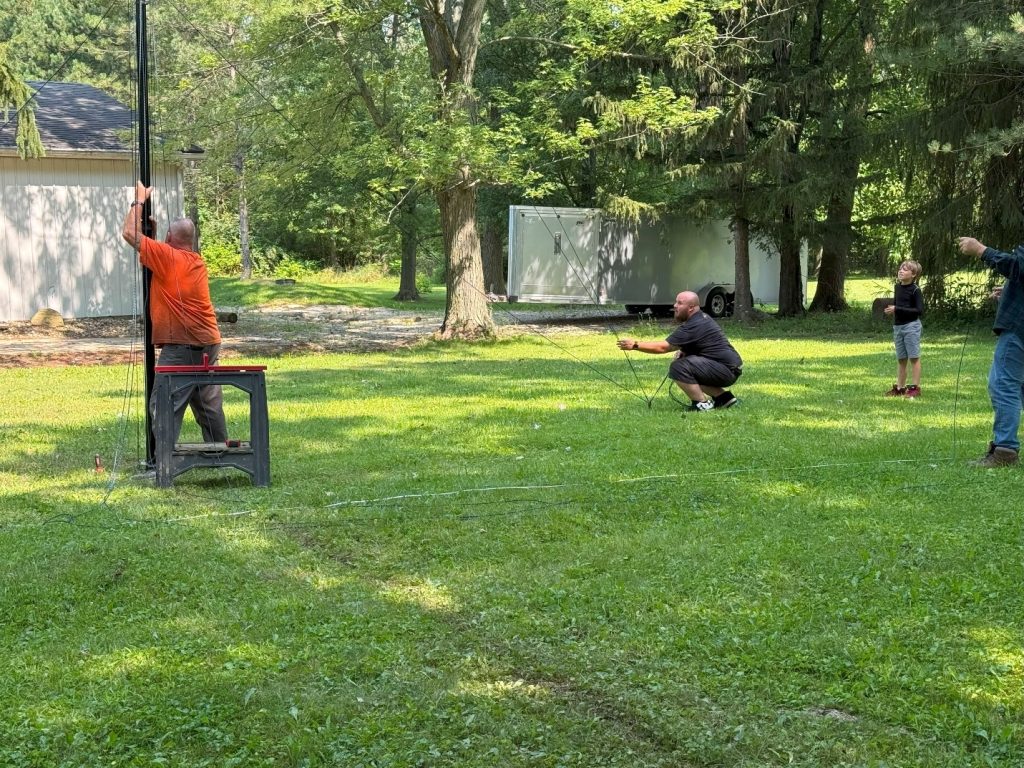
Finally, the guy ropes were attached to the spacer rings, and we were ready to raise the mast. The guy ropes were fed through the anchor eyelets, and tension was maintained in all three directions as it was raised. We used a level to make sure it was plumb, and all ropes were tied off accordingly. I used Mastrant-P Guy Line Rope for this project.

Finally, the radials were attached to the radial ring. We used Jet-Lube SS-30 Pure Copper Anti-Seize on each bolt and nut. This is messy stuff but adds huge value to the finished product. Lastly, we attached the center conductor wire from the coaxial connector to the driven plate, and it was done.
Using a Rig Expert Stick Pro Antenna Analyzer, SWRs were checked and all were below 1.3:1. It really does pay to cut these elements exactly as prescribed. The coax was secured in the shack and ran to the transceiver.
Getting on the Air with the Nebula
This is the first truly resonant antenna I have ever owned. The benefits of such resonance have become very evident to me. The next morning, I turned on my Yaesu FTDX-101MP and the first station I came across was from Australia (VK). I was able to make contact, sealing the deal on how happy I was with its performance. Furthermore, I used the DX Commander Nebula in the Ohio QSO Party and had my best score ever.
I could brag on this antenna until the cows come home, but there is a much more important thing that happened that weekend. Members of three clubs from three different counties came together and got the job done. I am forever grateful for their help and support.
I owe a HUGE debt of gratitude to the members of the Lorain County Amateur Radio Association, the Seneca Radio Club, and Huron County ARES for their blood, sweat and tears.
Until next time, 73