
I love sitting around with some seasoned hams listening to them talk about “back in my day.” It truly makes me realize how convenient the hobby is today. In the early decades nothing was plug and play. Everything had to be made, or “homebrewed.”
Dedicated hams would scour the far corners of the earth to pull together the necessary parts to build their first transceiver. They used scraps of wire and, if they were lucky, some metal to make an antenna. I have even heard stories (I hope fictional ones) of early hams procuring parts from their wife’s kitchen appliances to complete a project.
Because these were makeshift stations, operators worked very hard to make them efficient. High SWR could not be tolerated, so every antenna was made resonant. It was imperative that everything worked together and worked well.
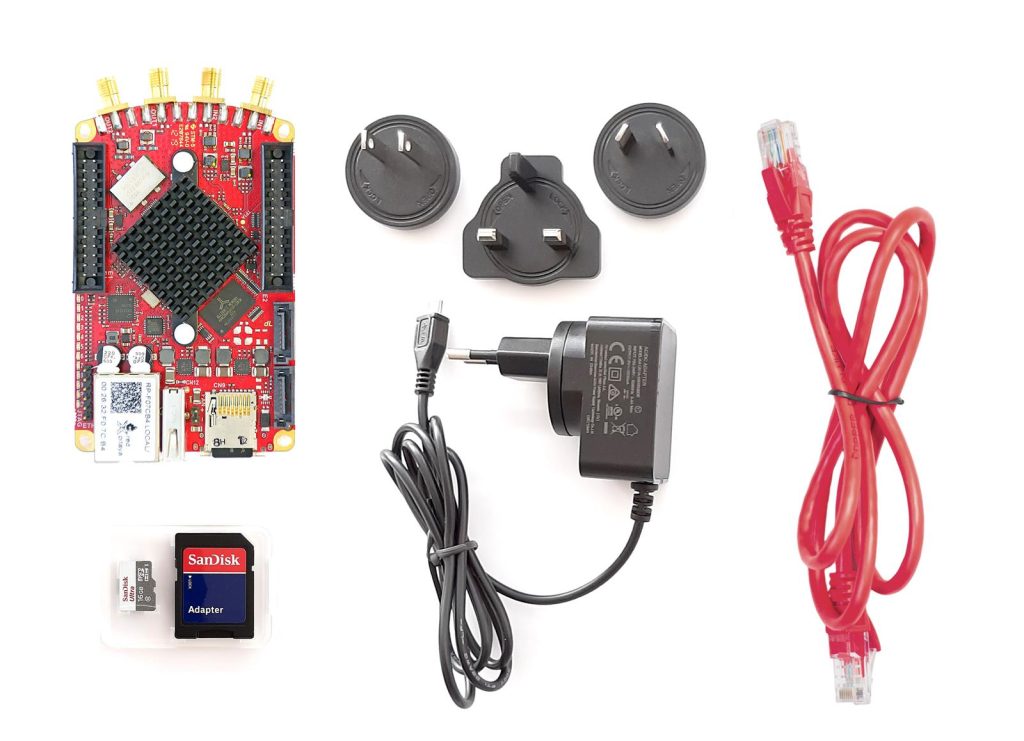
In all reality, making a transceiver today is not very common. There are a few kits out there you can purchase that provide you with most or all the necessary parts, and it is up to you to assemble everything into a working rig. DX Engineering offers an SDRLab and STEMLab from RedPitaya if you want to try your hand at it.
Kind of the final frontier, if you will, in terms of homebrewing is the world of antennas. At a base level, the theory of antennas is somewhat simple. How we implement that theory can be quite complicated. And that is where the fun is. I recommend a few books to help you get started:
- “ARRL Antenna Book”
- “Salty Walt’s Portable Antenna Sketchbook”
- “Basic Antennas—Understanding Practical Antennas and Designs
- “Stealth Antennas for Ham Radio”

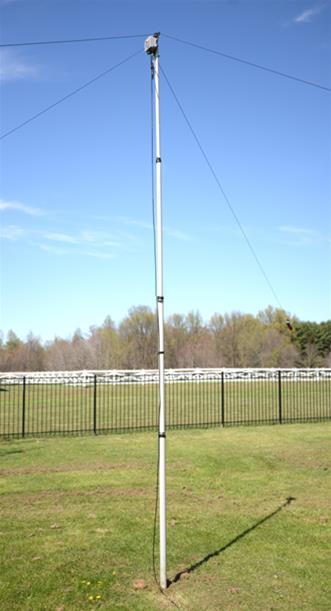
One of the first antennas I built was for the ARRL’s NVIS Day years ago. I wanted to build an AS-2259 military NVIS antenna that was resonant on 80 and 40 meters. It really is a simple design. Coax goes up a 25-foot fiberglass mast and at the top is an 80M and 40M dipole antenna at 90 degrees from each other.
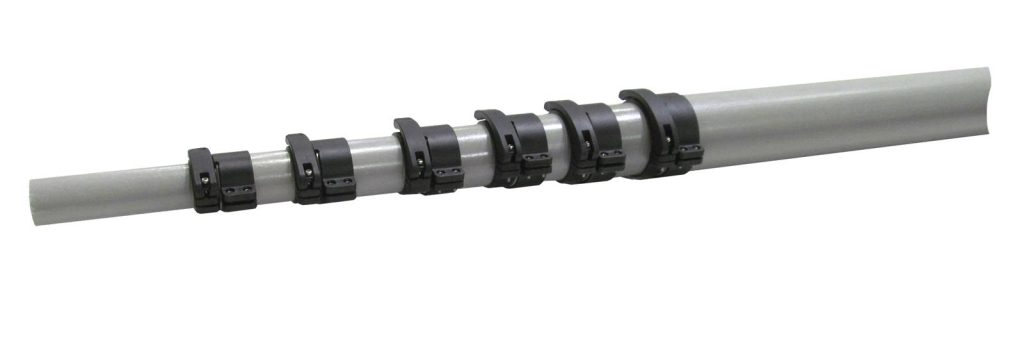
I showed up to the event with some coaxial cable, antenna wire, a push-up mast (see below) with a PVC cap, soldering iron and solder, and guy rope with ground stakes. We discussed the project and decided to go forward with it. In about 20 minutes the antenna was built and in the air.
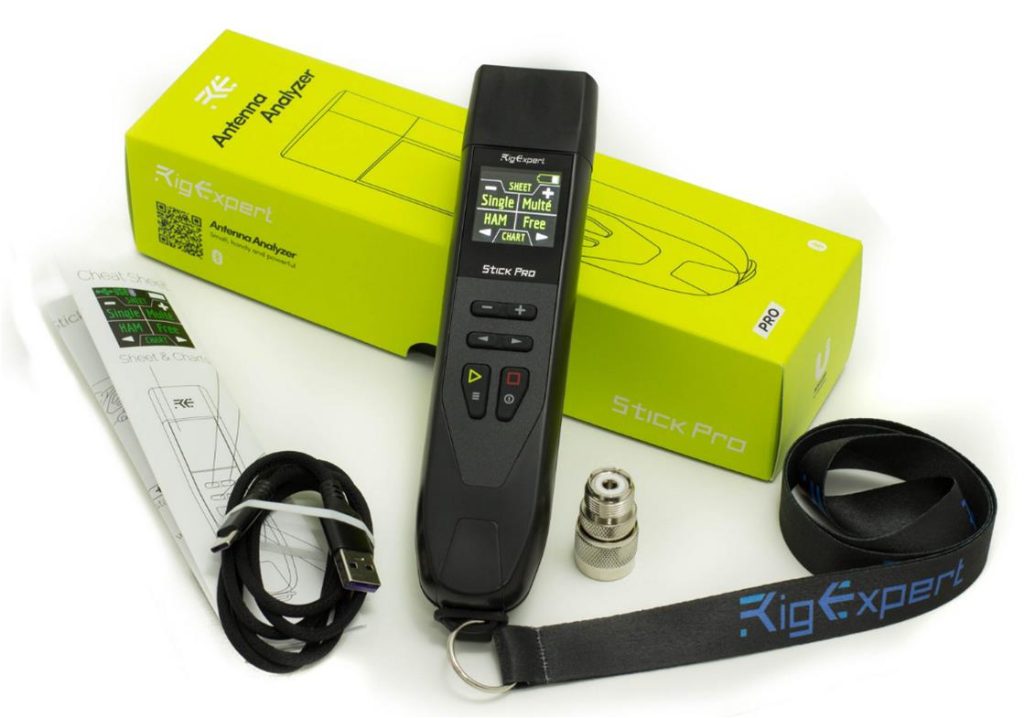
A few minutes of tuning it with the RigExpert Stick Pro Antenna Analyzer (below) and we were making contacts with other ARES® groups and emergency operations centers around Ohio.
I have to admit that this project was just awesome to me. Up to this point I was pretty much an appliance user. At that moment, I became a ham! With the help of my fellow operators, we transformed a grocery sack of parts into an efficiently functioning antenna with very little effort. Due to the environment we were operating in, we were picking up some common-mode current. This was mitigated with an air choke.
Just do a web search for AS-2259 Antenna Plans and you’ll find everything from the basic model, like my first build, to enhanced versions with traps. I like to keep things simple, and I still use this antenna from time to time. I have cut wires for 80-10M on winders, so I am ready to go when needed. You can also buy DX Engineering 80/40M NVIS Kits ready to assemble that take a lot of the parts hunting out of the equation.
Since my first NVIS antenna, I have played around with end-feds, dipoles, and loops—any type of antenna that I can homebrew or take a manufactured antenna and make it more efficient. With plenty of homebrewing plans and discussions on the Internet and various antenna modeling software packages available, why not try something out for yourself? I do highly recommend the use of an antenna analyzer to test the antenna BEFORE hooking it up to your radio and putting RF through it.
The moral of the story: Start scavenging and get on the air in your own way!
Until next time, 73.